


Installing Cabinet Hardware: A Guide for Pulls, Knobs, and Tabs
Installing cabinet hardware is the last step of a long project — and the easiest one to rush. A few decisions made before you pick up a drill will save you the cost of refinishing a cabinet door later. This guide walks through them.

When should I drill the holes?
After the hardware arrives, not before. Hardware sizes vary slightly between manufacturers and finishes — particularly for hand-fabricated pieces — and a hole drilled to the spec sheet won't always match the piece in your hand. Pre-drilling is the most common cause of installation problems we see, and the resulting damage is rarely covered by manufacturer warranties.
If a contractor or fabricator insists on pre-drilling before painting, order a single piece of each style ahead of time and let them measure the actual hardware. Finish doesn't matter for the test piece.
How do I find the right placement?
Don't commit on the first try. Stick reusable putty adhesive to the back of a few knobs or pulls and try them on the cabinet door at different positions. Step back and look at multiple cabinets together — a placement that works on one door can read awkwardly across a run of six. Mark your final choice in pencil before drilling.
For consistent placement across a full kitchen, use a cabinet hardware template. Store-bought templates work; so do homemade ones cut from MDF or hardboard. The trick when buying one: tape over the holes you aren't using. By cabinet door twenty-eight, this is the difference between a tidy install and an expensive mistake.
How do I drill without splintering or damaging the finish?
Mark the spot with an awl rather than a pencil — the small dent keeps the bit from skating across the surface. If the cabinet face is too hard for an awl to dent, start with a smaller pilot bit and work up to the final size.
Drill from the front. The exit side of the drill is where wood is most likely to splinter, especially on plywood or older wood, and you want any splintering hidden inside the cabinet. A scrap block held against the back surface as you drill catches the bit and protects the finish on both sides.
Are there special considerations for different hardware types?
Yes — a few worth knowing.
Knobs are the most forgiving. The main risk is splitting wood on plywood, MDF, or lacquered surfaces. A backing block and a stepped pilot hole eliminate the problem.
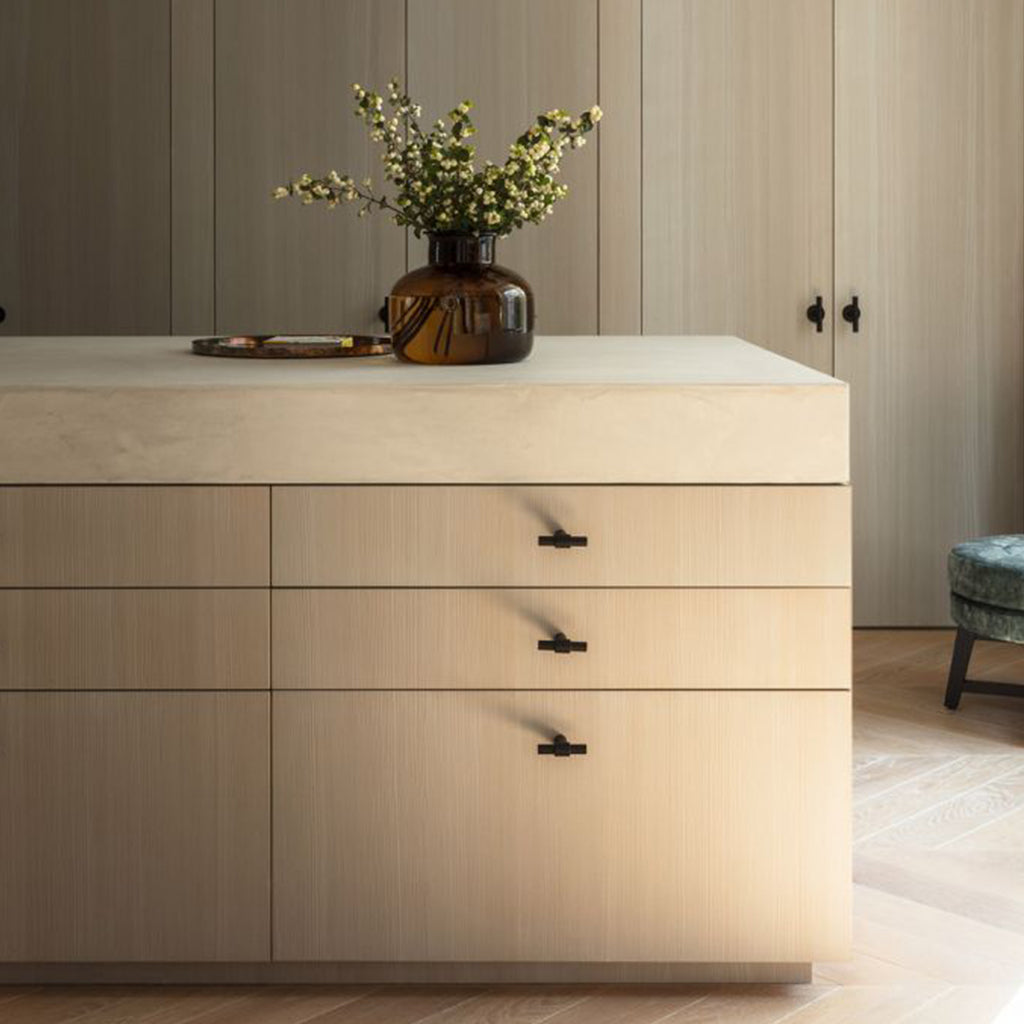
Bar pulls require precision. They need to align both with each other and with the cabinet edge — a millimetre's drift is visible across a run. A cabinet hardware jig (one is around $30) keeps them straight and saves the cost of a misdrilled door many times over.
Edge pulls and finishing screws in soft brass or copper damage easily under power tools. Drill the pilot hole with a metal bit, then drive the finishing screw by hand with a properly sized screwdriver. Hand-tighten only — over-tightened cabinet hardware splits wood and strips the screw head.
What should I do once everything is installed?
Two small habits prevent the most common follow-up problems. Save a small jar of the cabinet finish or paint for touch-ups — kitchens move and chip, and matching paint a year later is much harder than saving some now. And add a dab of thread sealant to every screw before driving it. The screw won't work loose, the knob won't twist, and you won't think unflattering thoughts about whoever installed them.
For oblong knobs that fasten with a single screw, a drop of superglue on the back before installation keeps the knob from rotating with use. Thread sealant alone won't stop rotation — only the adhesive will.
Browse the full range in the cabinet hardware collection.
Leave a comment